17 KiB
Getting Started with Vibe Coding
Create and deploy your first web app in 10 minutes
Hello, I’m Yupi, a former full-stack developer at Tencent and an AI programming blogger with 2 million followers across platforms. I’m also the creator of over 10 self-developed products like AI Navigation and Programming Navigation.
In my previous article, we discussed the philosophy and mindset behind Vibe Coding. Now, it’s time to put it into practice!
In this article, I’ll guide you step-by-step to create your first web app in just 10 minutes and deploy it online so that people worldwide can access it.
Yes, you heard it right—no prior programming knowledge is required. All you need is the ability to type and browse the internet.
1. Preparation
Before we begin, let’s make some simple preparations. Don’t worry—it’s quick and easy, taking only 5 minutes.
What you’ll need:
- A computer with internet access (Windows or Mac)
- A browser (Chrome, Edge, or Safari)
- An AI tool account (we’ll use Bolt.new, which is free)
- A GitHub account (for deployment, also free)
That’s it! No need to install any programming software or learn any code. Everything is done in your browser.
💡 What is GitHub?
GitHub is the most popular, free, open-source code hosting platform. Think of it as a “cloud drive” for storing and managing code. Users or teams can upload their code to GitHub for sharing, maintenance, and downloading. Developers can freely access code on GitHub for learning or referencing.
If you’re interested in GitHub, check out Yupi’s Beginner-Friendly GitHub Learning Path for free learning.
How to Choose an AI Tool?
For complete beginners, I highly recommend starting with Bolt.new. It’s entirely online, requires no software installation, and can be accessed directly in your browser. The best part is that you can see the results of your code immediately and publish it online with just one click—zero barriers. Plus, it offers free credits, perfect for beginners.
Once you’re comfortable, you can move on to professional tools like Cursor.
Note: If Bolt.new is inaccessible due to network issues, you can try Meituan NoCode or Baidu Miaoda, which are similar AI app generation platforms.
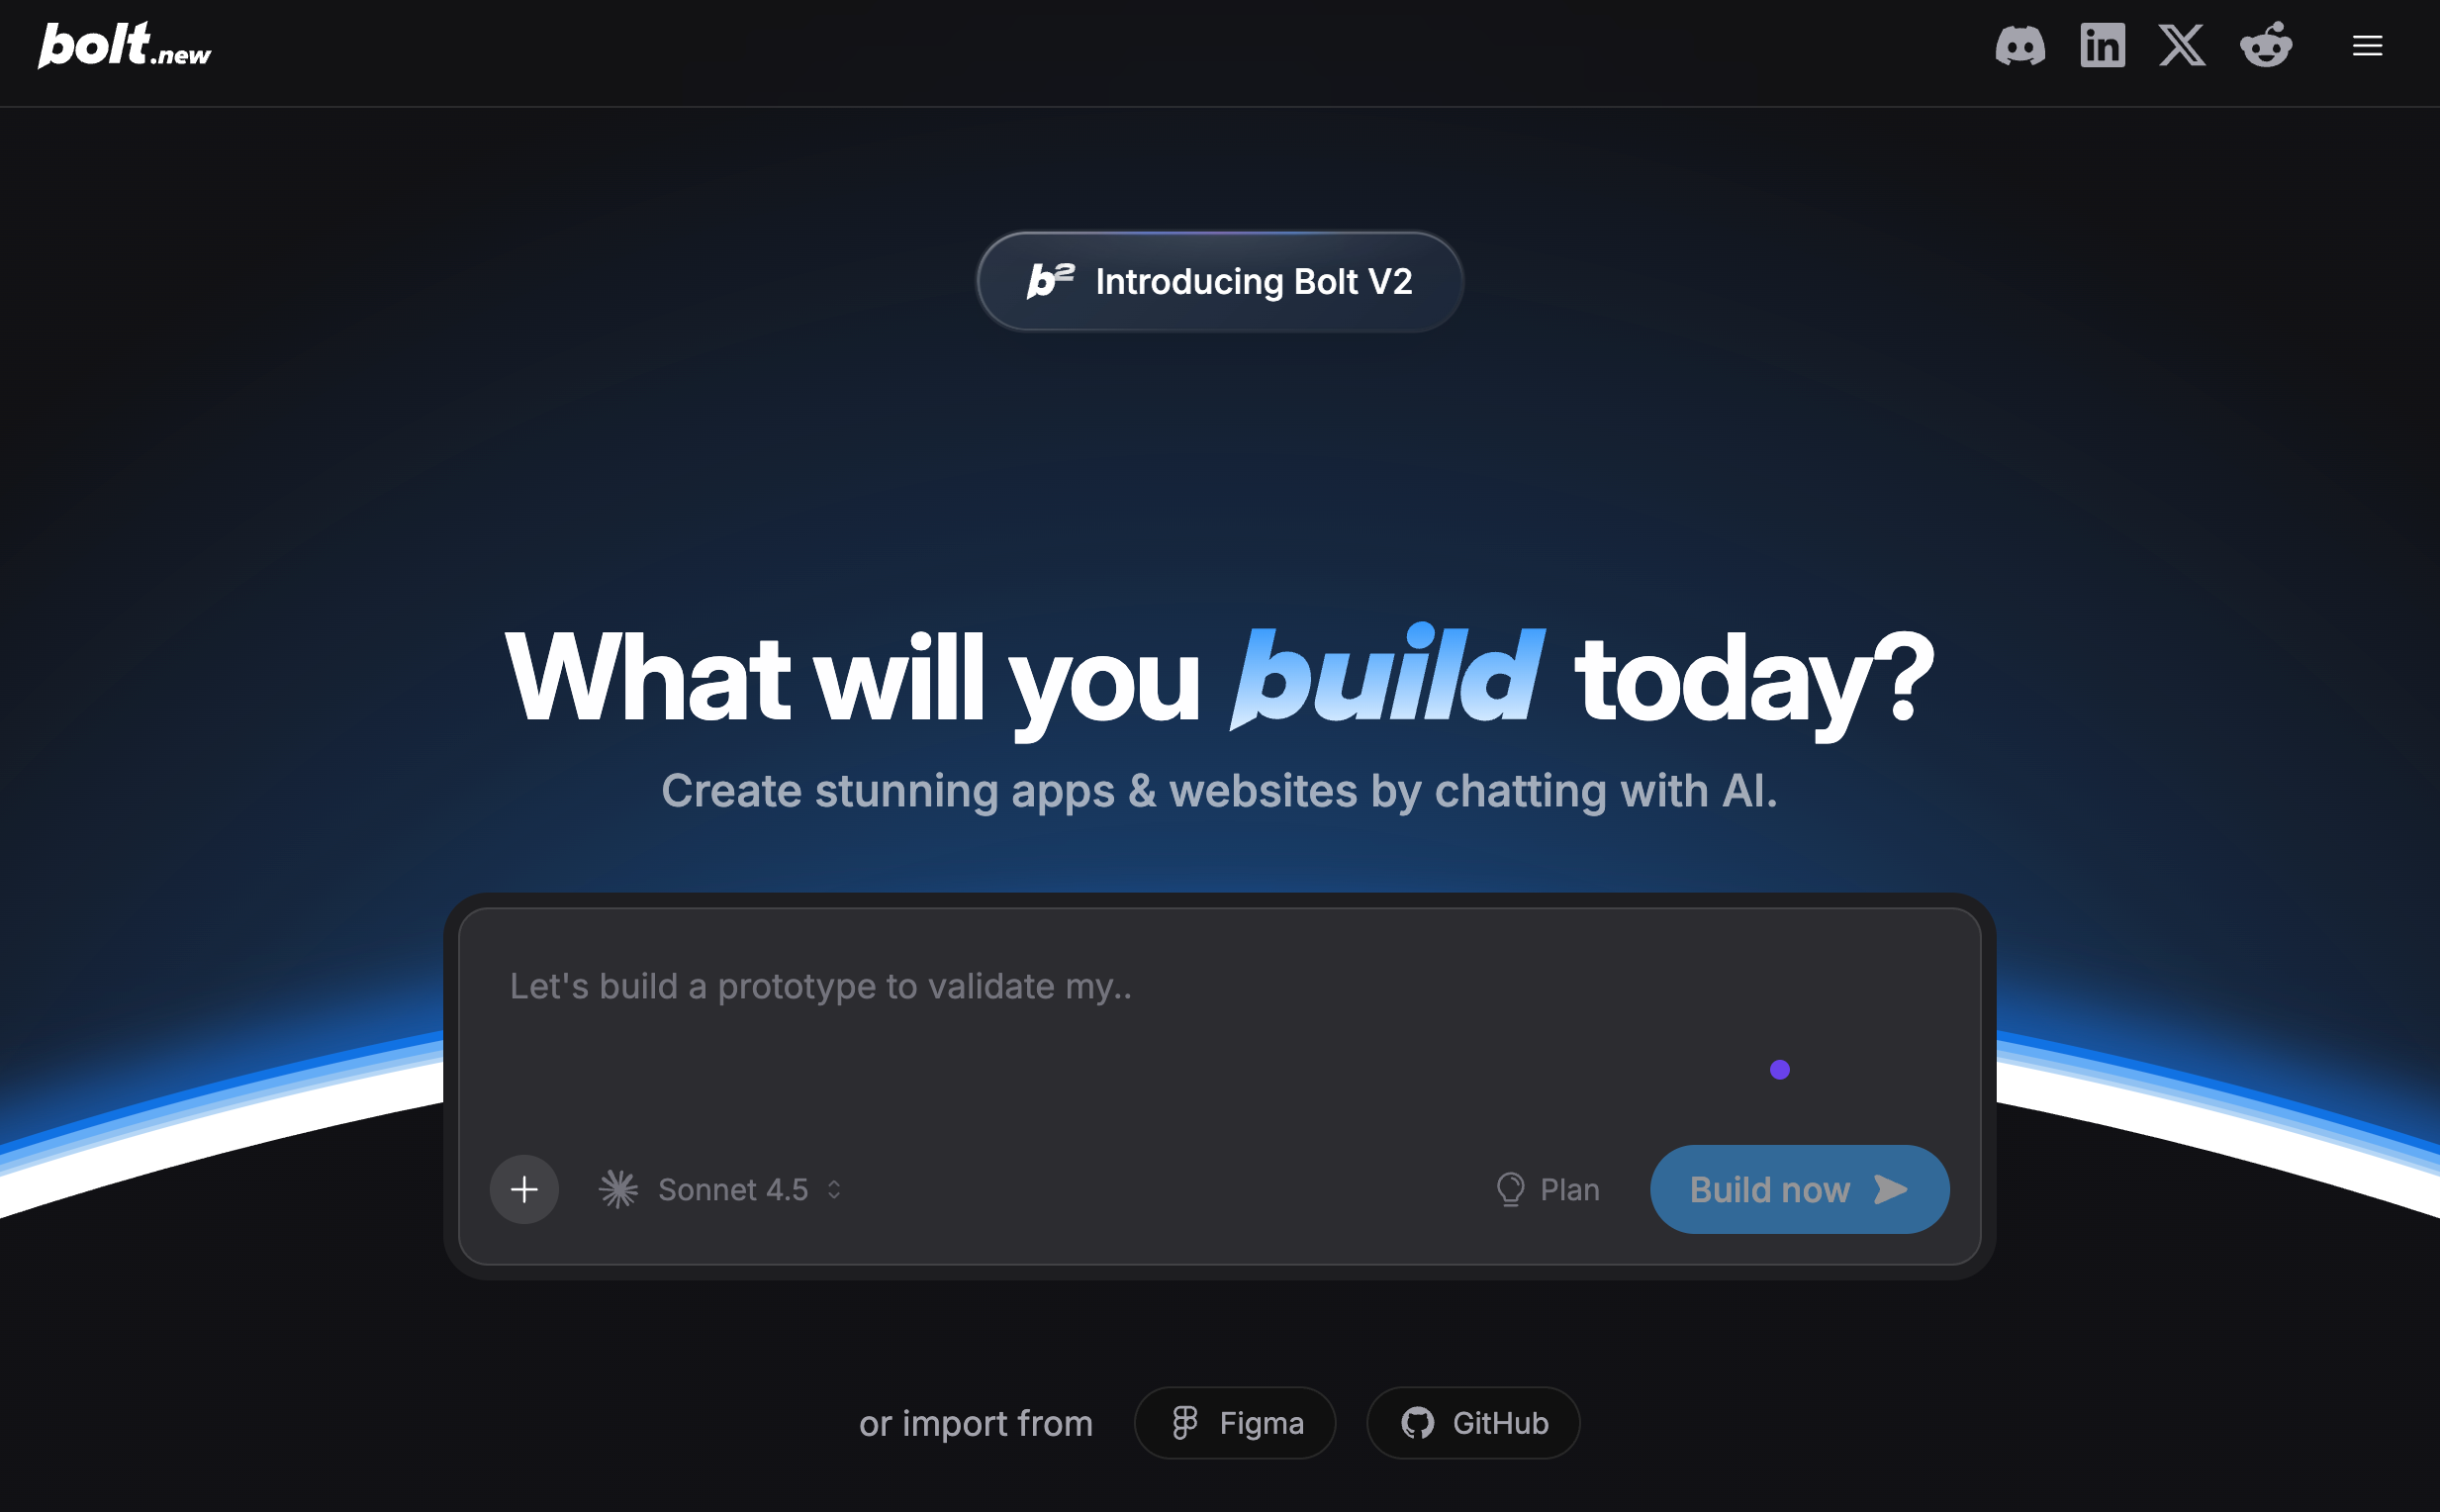
Registering on Bolt.new
- Open your browser and visit: https://bolt.new
- Click the "Sign in" button in the top-right corner
- Log in using your Google account, GitHub account, or email (recommend using GitHub for deployment later)
Once logged in, the preparation is complete. You can now start generating projects by typing your requirements in the chat box.
2. Choose Your First Project
Your first project is crucial as it directly impacts your learning experience. I recommend choosing a simple yet complete project that’s practical and delivers visible results.
Based on my experience, the following projects are beginner-friendly and easy to complete:
- Personal Business Card Website: Showcase your name, avatar, self-introduction, and contact information. Simple and elegant. Perfect for those who want a quick sense of accomplishment.
- To-Do App: A simple task management tool (commonly known as a Todo List) where you can add tasks, mark them as completed, and delete them. Ideal for those who want to create something practical.
- Countdown Website: Set a target date (e.g., an exam or birthday) and display the remaining days in real-time with a visually appealing design. Great for those who want to create something creative.
In this tutorial, I’ll use the classic To-Do App as an example because it’s feature-complete, practical, and allows you to experience the full development process. If you prefer another project, the steps are the same—just replace the requirements with your desired ones.
3. Generate Code by Conversing with AI
Now, let’s dive into the most exciting part—conversing with AI to generate code.
Round 1: Describe Basic Requirements
In Bolt.new’s chat box, type the following (you can copy-paste):
Please create a to-do app webpage with the following requirements:

1. Functional Requirements:
   - Ability to input task content and add it to the list
   - Each task has a checkbox in front; clicking it marks the task as completed
   - Completed tasks are displayed with a strikethrough
   - Each task has a delete button at the end
   - Display the number of completed and uncompleted tasks

2. UI Requirements:
   - Clean, modern design style
   - Use a fresh blue color scheme
   - Rounded buttons and input fields
   - Subtle shadow effects
   - Responsive design that works well on mobile devices

3. Technical Requirements:
   - Use HTML + CSS + JavaScript
   - Data is saved in browser local storage; refreshing the page won’t lose data
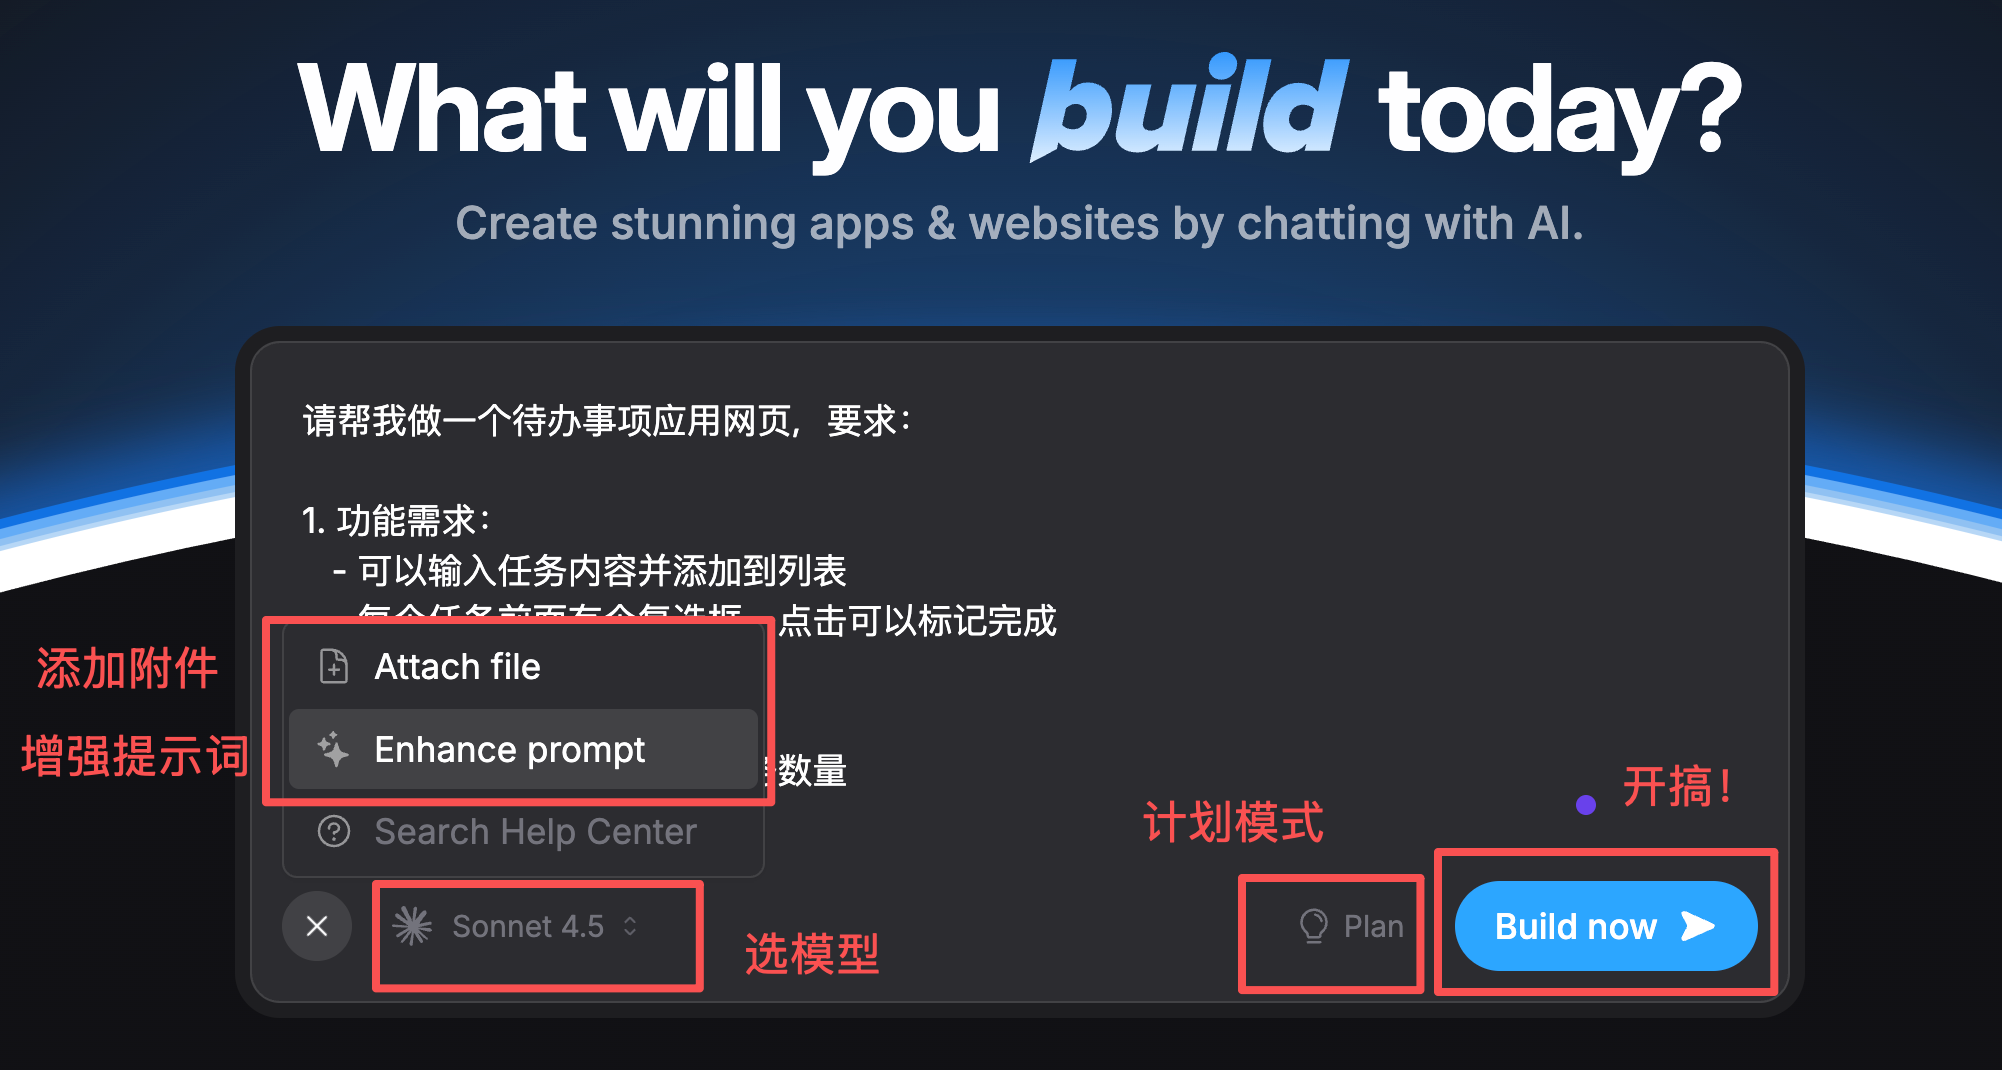
You can also choose a large model, use plan mode, add attachments, or enhance prompts, but I recommend ignoring these for now. Just click send and wait for AI’s response.
What is AI Doing?
After sending, you’ll see Bolt.new start working.
The AI understands your requirements, creates the project file structure, and automatically generates the webpage code. The entire process takes about 2 minutes.

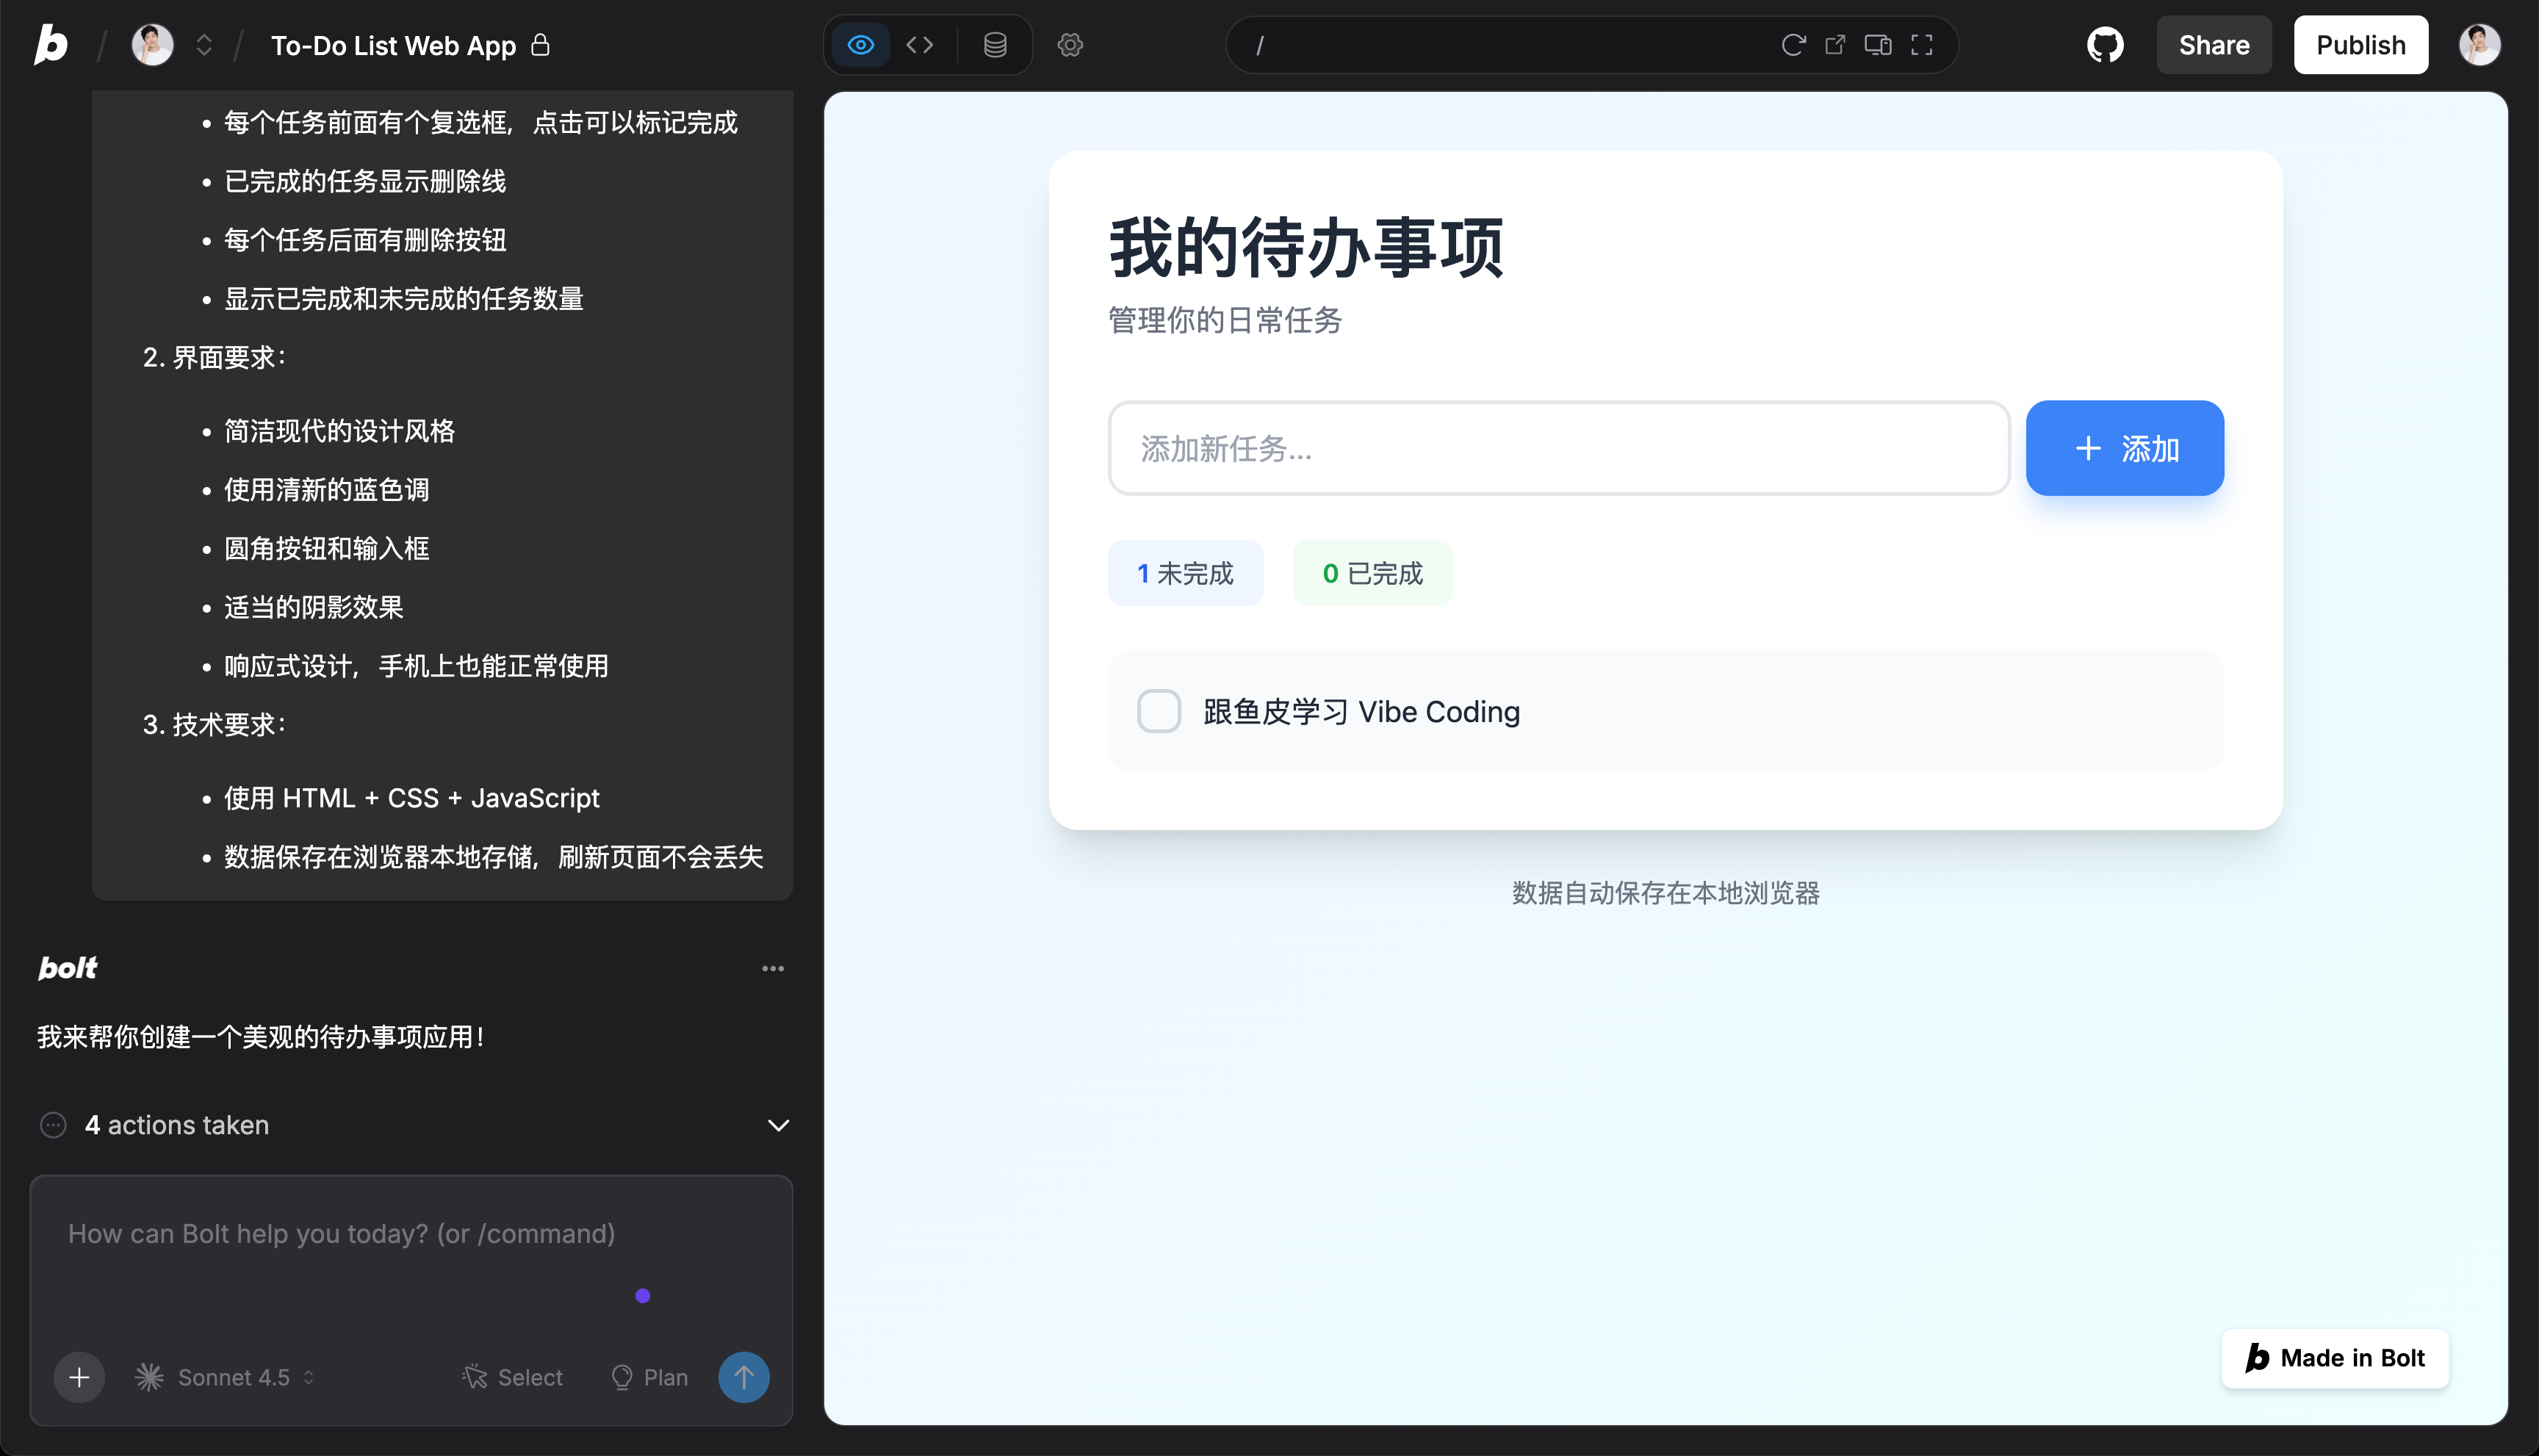
Once the code is generated, a preview will automatically appear on the right. You’ll see an input field, an add button, and a task list area.
Try typing "Learn Vibe Coding with Yupi" in the input field and click the add button to see the result.
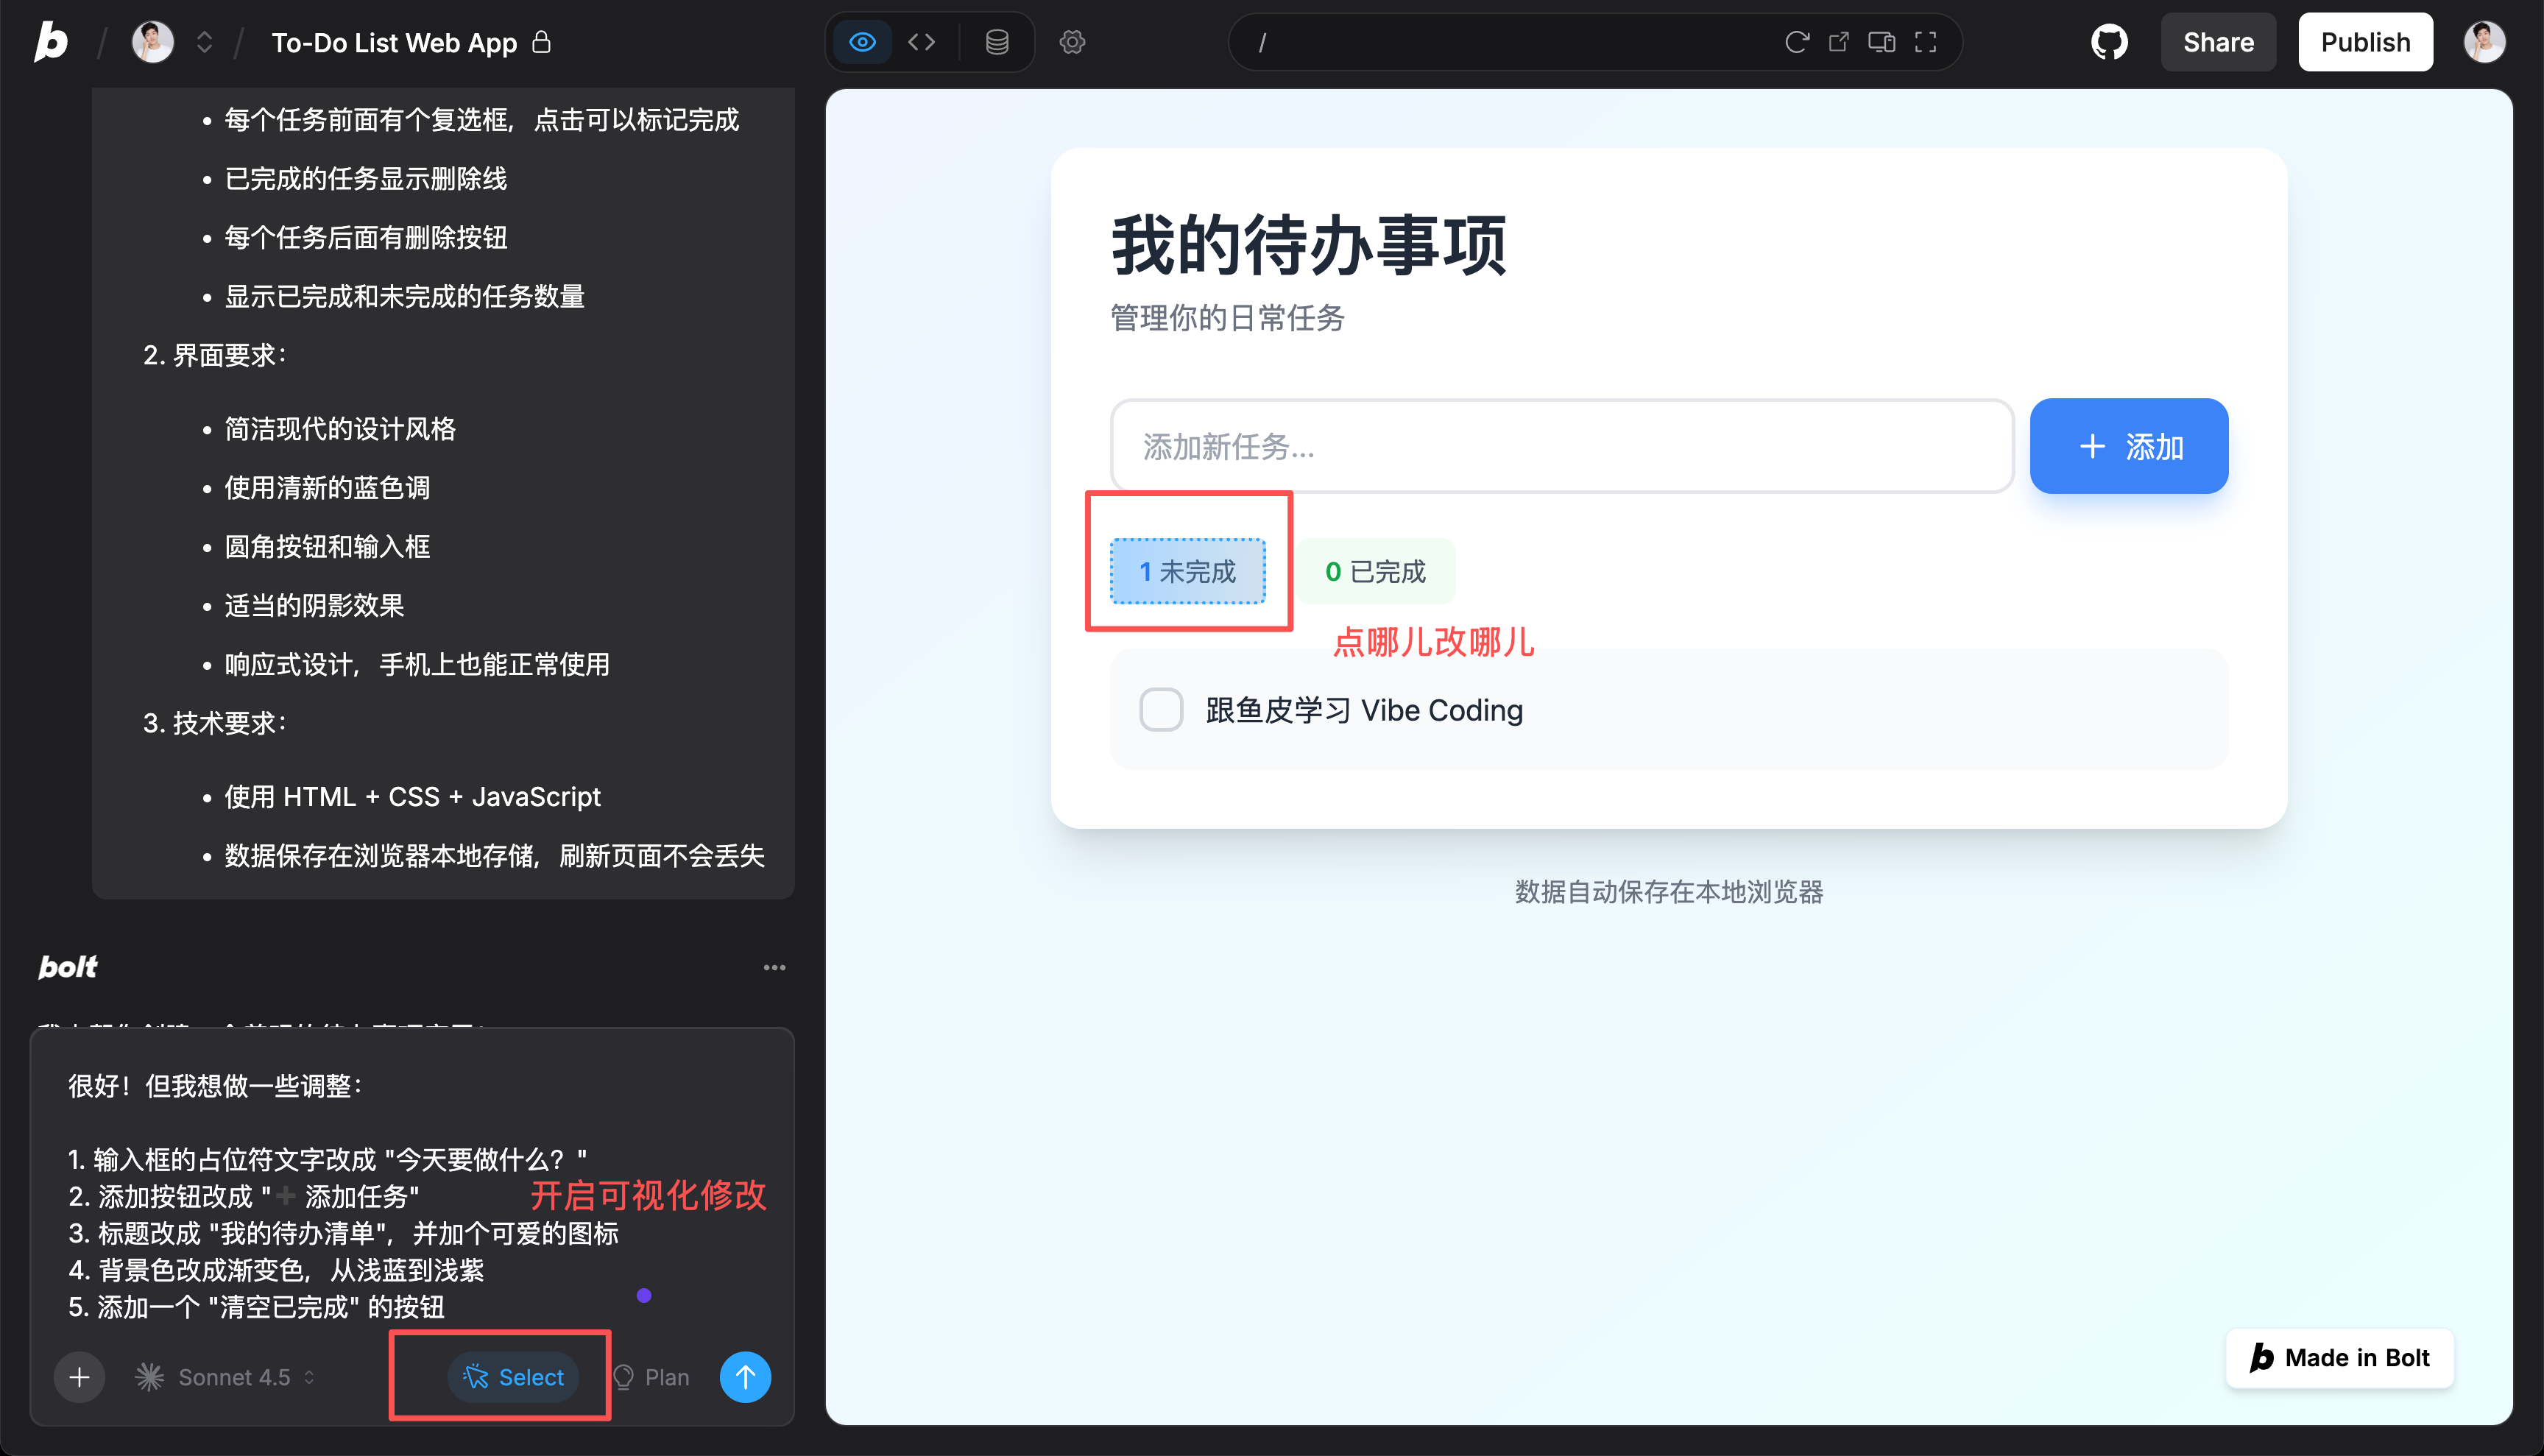
Round 2: Optimize Details
After seeing the initial version, you might want to tweak some details. For example:
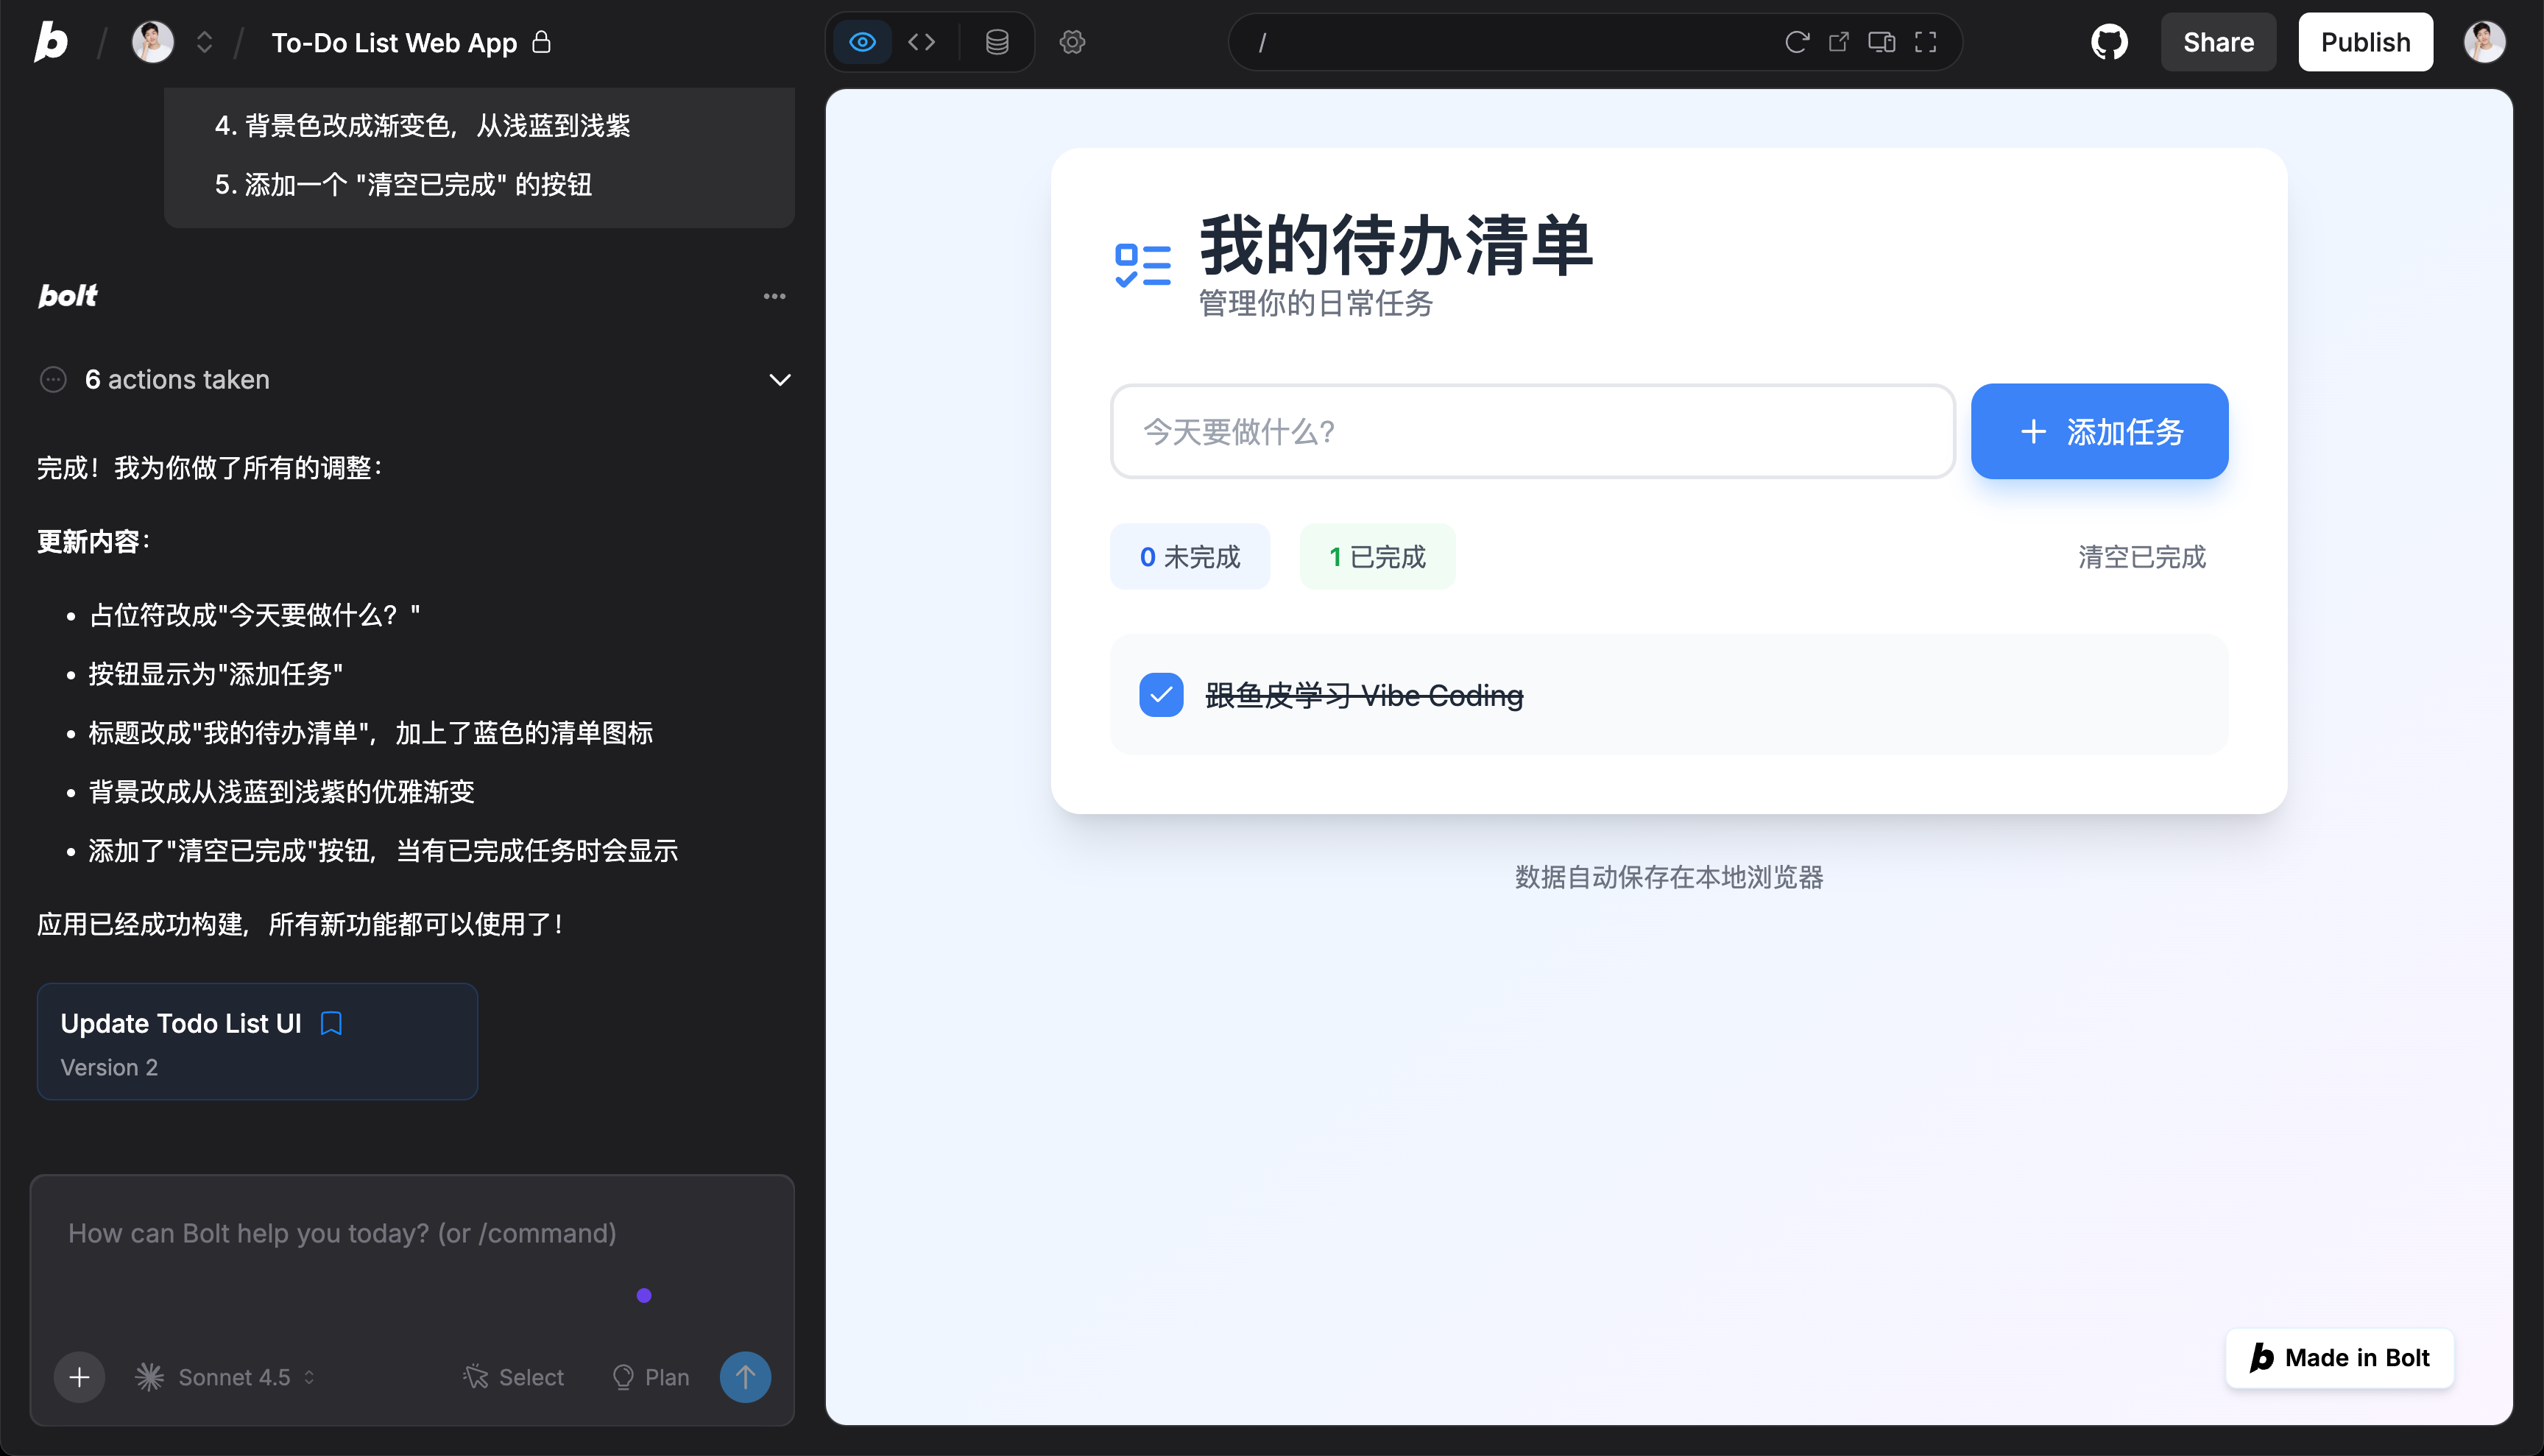
Great! But I’d like to make some adjustments:

1. Change the input field placeholder text to "What’s on your to-do list today?"
2. Change the add button to "➕ Add Task"
3. Change the title to "My To-Do List" and add a cute icon
4. Change the background to a gradient from light blue to light purple
5. Add a "Clear Completed" button
You can also enable the visual modification feature, select the element you want to modify, and tweak it directly.
The AI will modify the code based on your requests, and you’ll soon see the updated result.
Round 3: Add New Features
If you want to add more features, continue the conversation with AI:
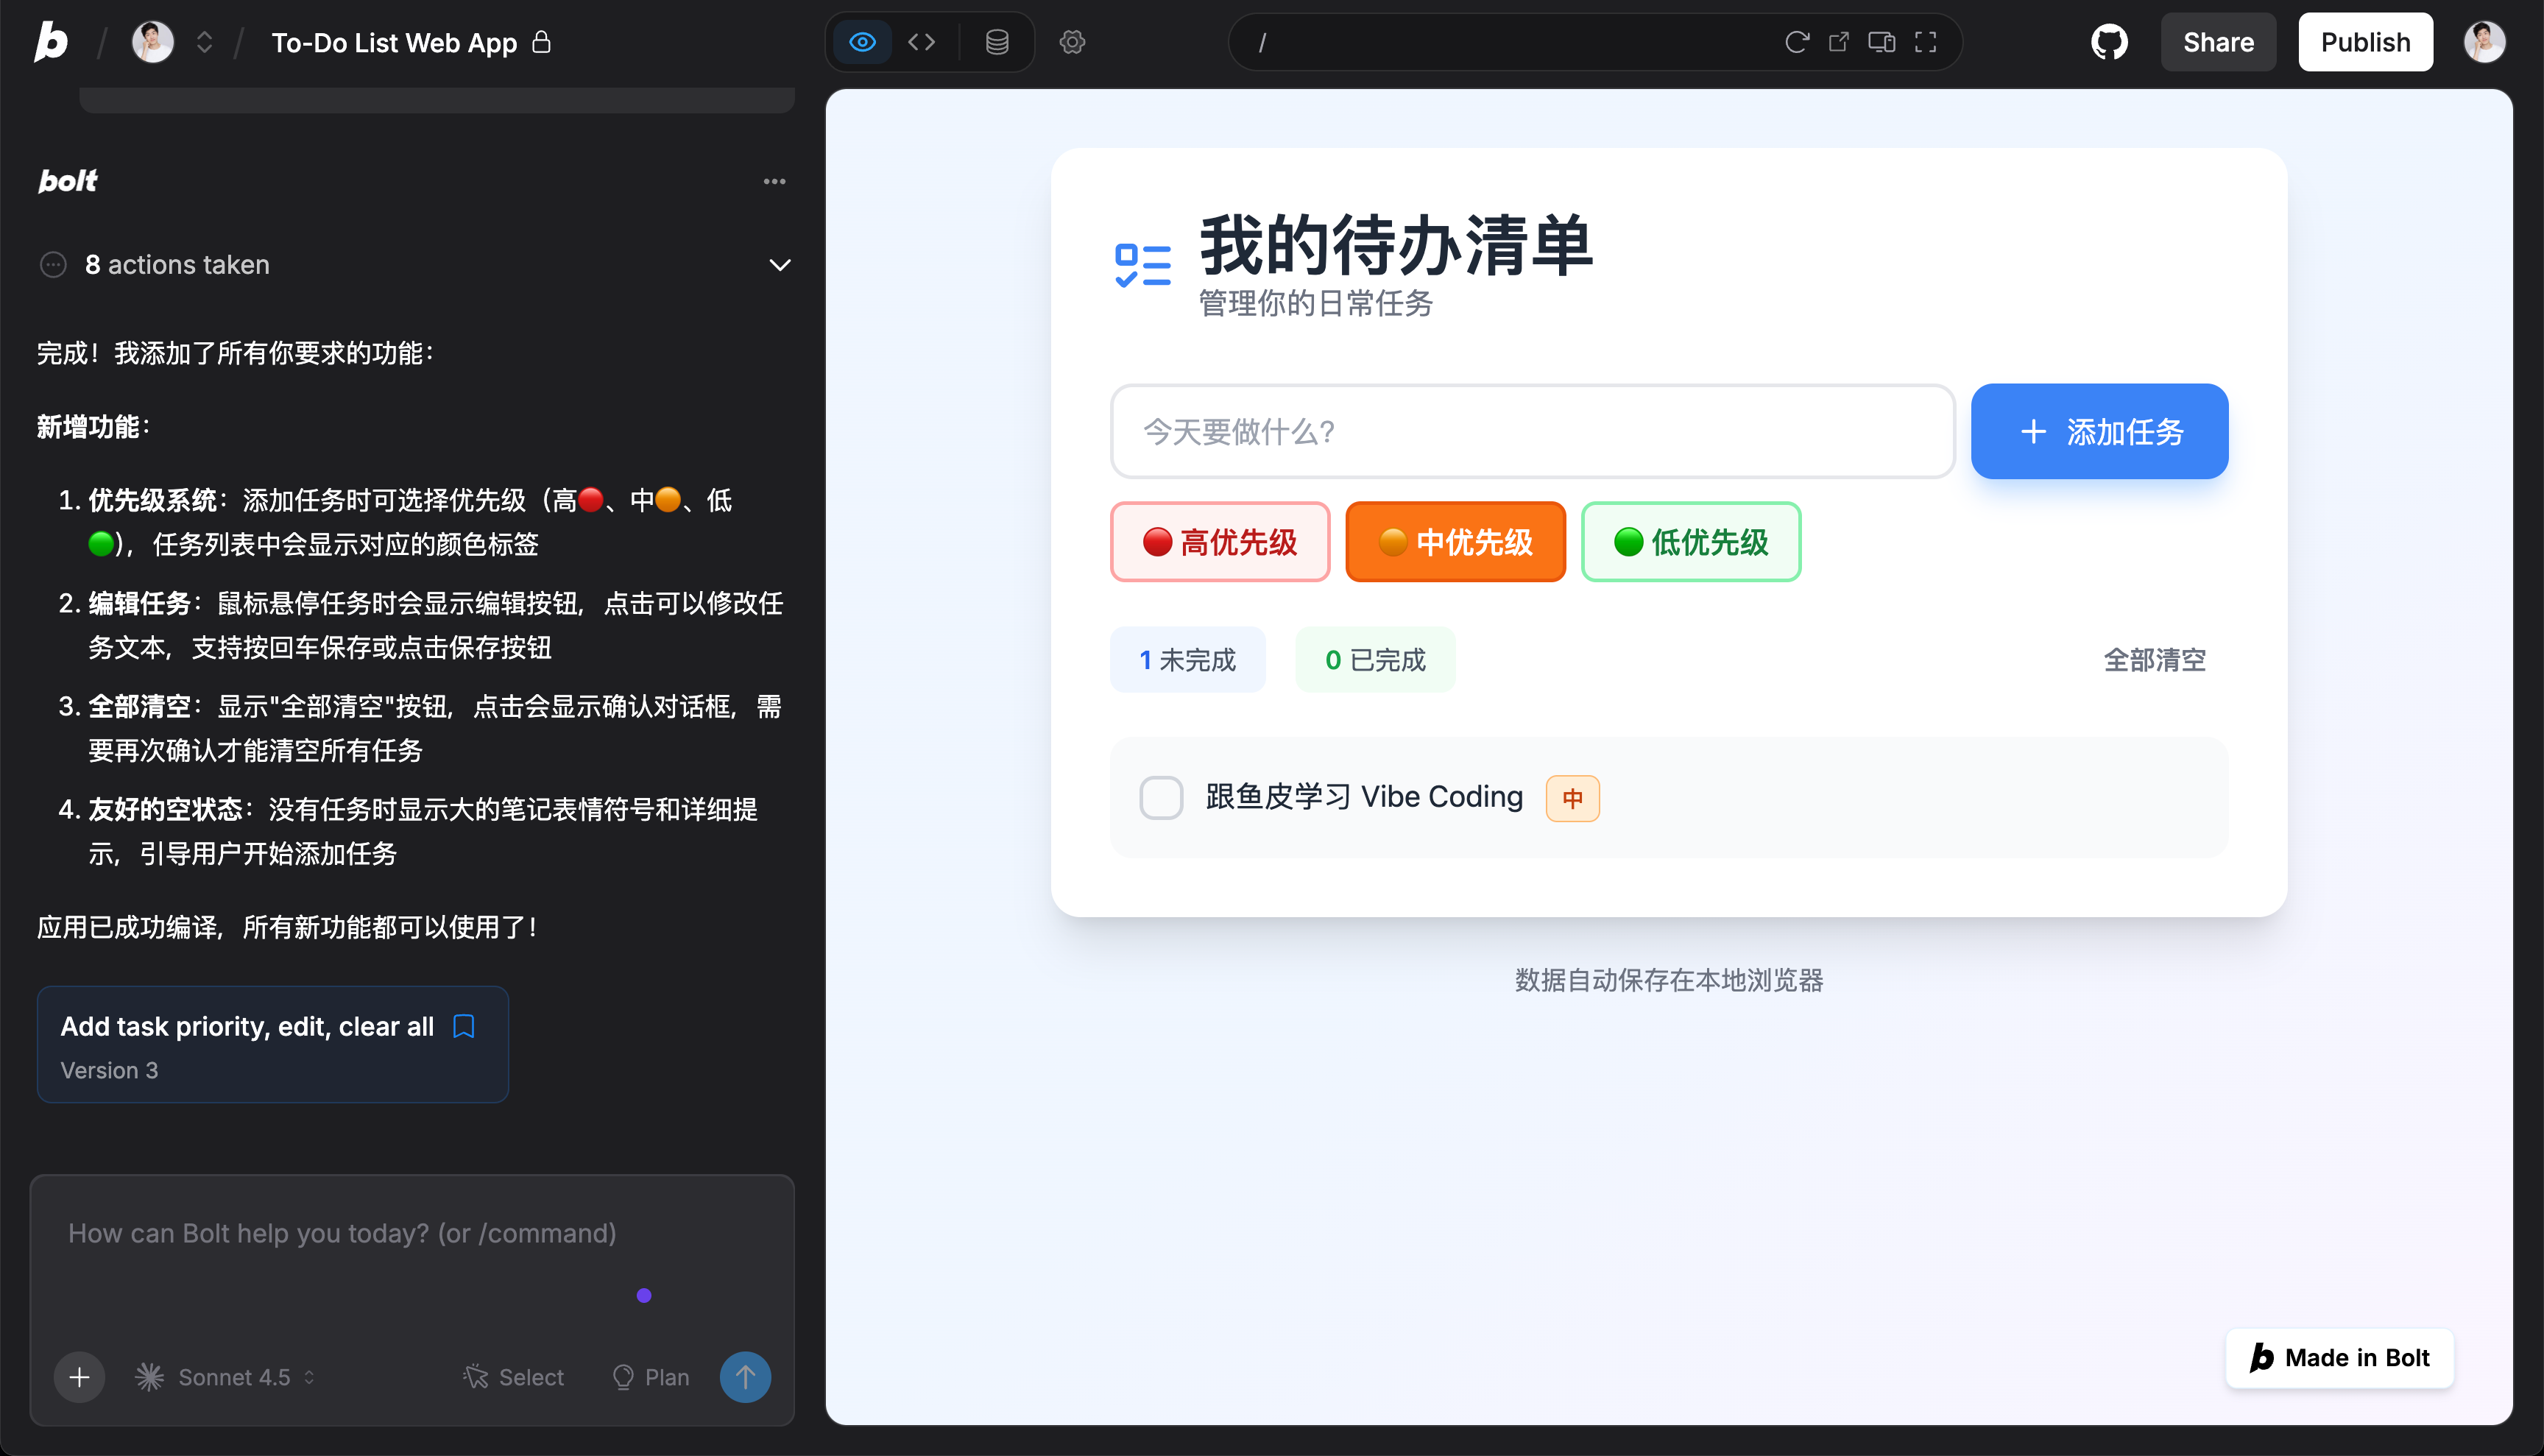
Add a few more features:

1. Tasks can have priority levels (high, medium, low) indicated by different colors
2. Ability to edit added tasks
3. Add a "Clear All" button with a confirmation prompt
4. Display a friendly message when the task list is empty
The AI will continue to implement these features for you.
Conversation Tips
When conversing with AI, keep these tips in mind:
- Be specific with requirements: Instead of saying "make it look better," say "change the background to a blue gradient and add rounded corners to buttons."
- Don’t change too much at once: Limit yourself to 1~5 requests per round, review the results, and continue.
- Report issues directly: If there’s a bug or something doesn’t look right, tell AI directly, e.g., "There’s an issue with XX."
- Ask for explanations: If you don’t understand something, ask, "What does this code do?"
4. Verify the Results
Now, your to-do app is complete. Let’s test all the features:
- Type "Learn Vibe Coding with Yupi" in the input field and click the add button. The task appears in the list.
- Click the checkbox in front of the task—the task text shows a strikethrough. Click the delete button, and the task disappears from the list.
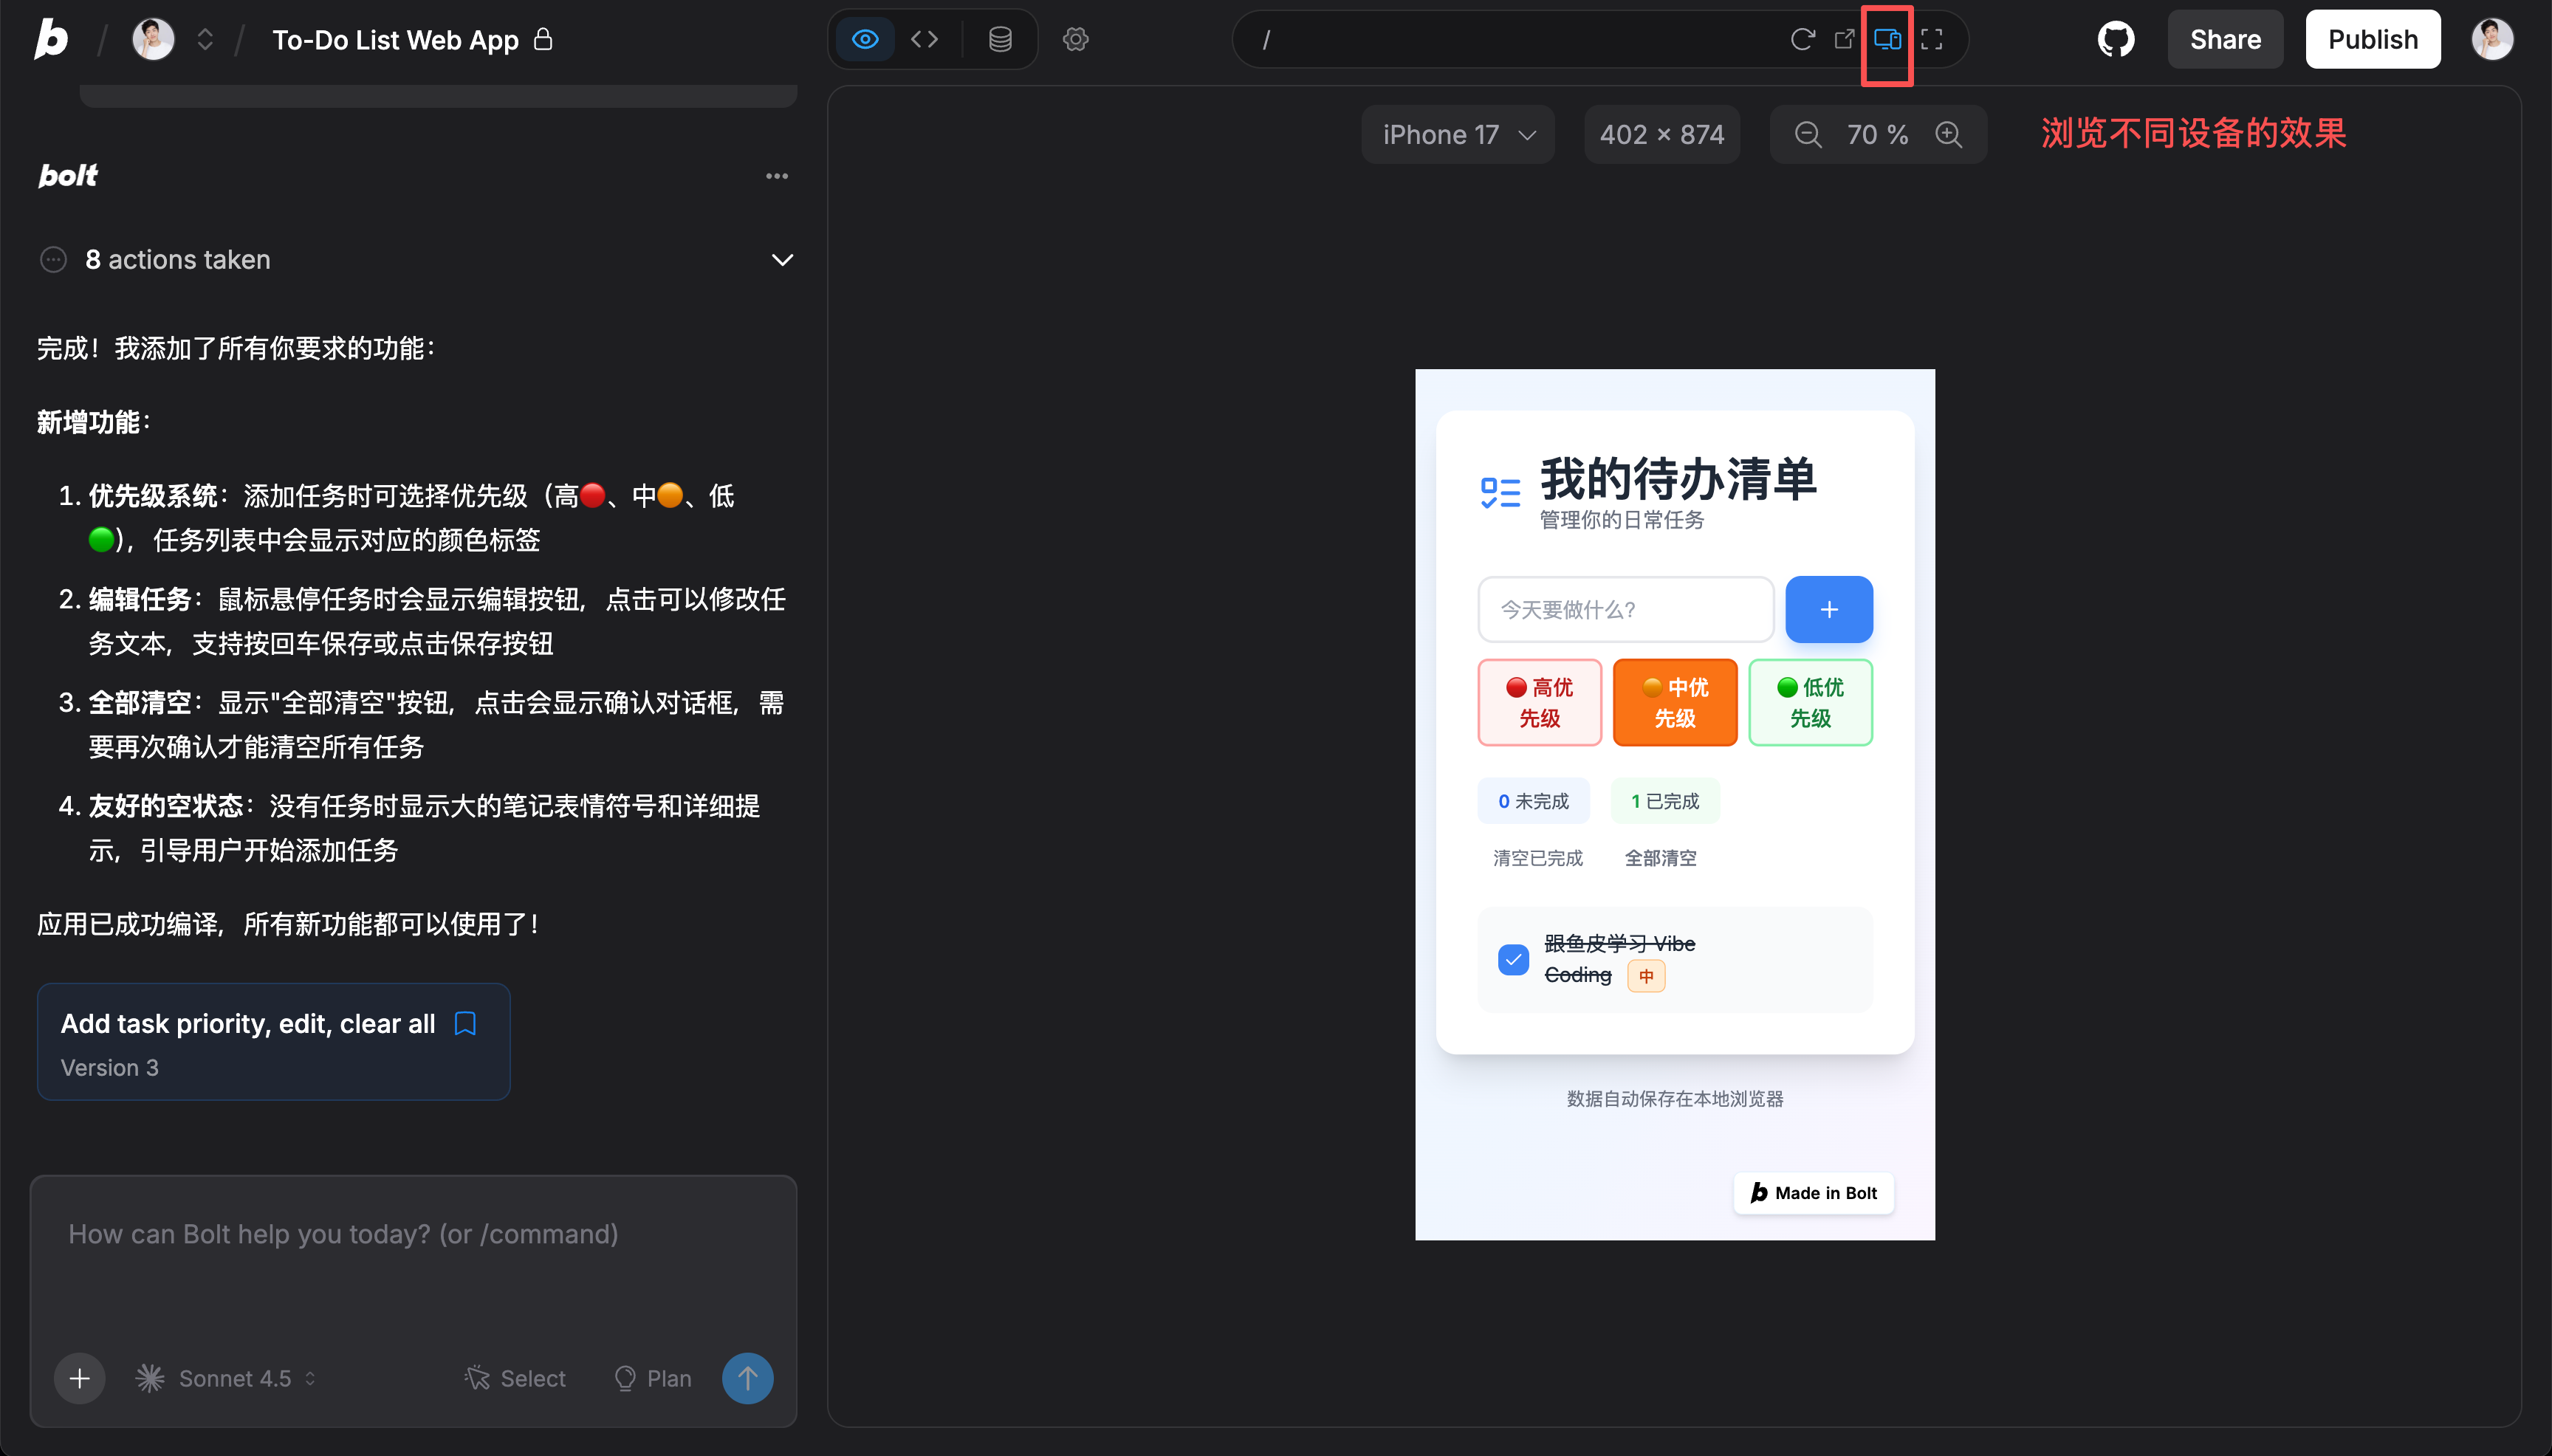
Finally, click the device icon above the preview window to see how it looks on mobile and different screen sizes.
If you find that a feature isn’t working properly, don’t panic. Describe the issue in detail to AI, e.g., "When I click the delete button, the task isn’t removed." AI will fix the bug, and you can test again.
This is the charm of Vibe Coding—AI solves problems for you!
5. Deploy Online
Now that your app is complete, let’s publish it online so people worldwide can access it!
Quick Deployment (Recommended)
Bolt.new offers the simplest deployment method. Just click the "Publish" button in the top-right corner:
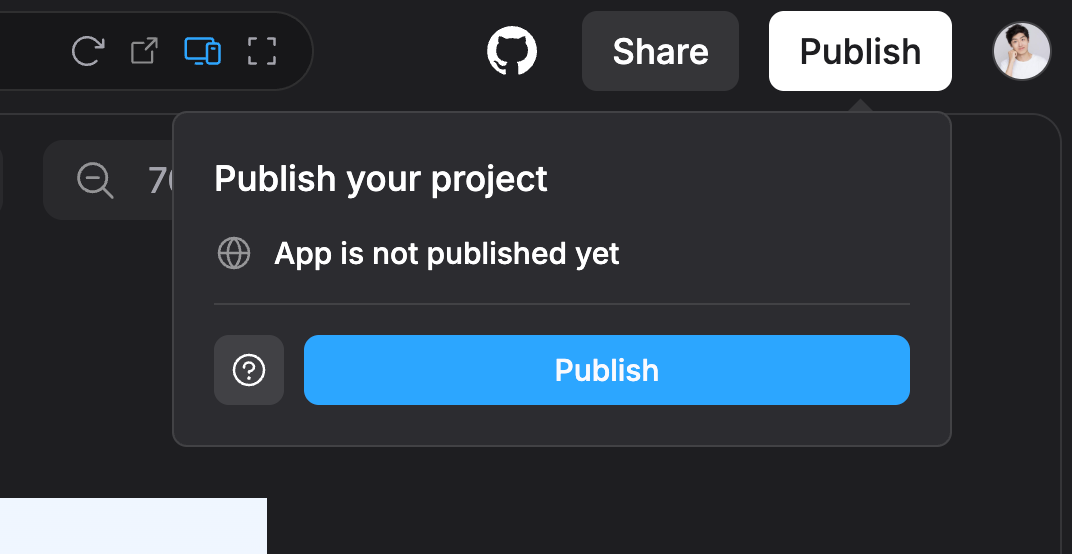
Wait a moment, and you’ll see the published accessible URL in the chat box:
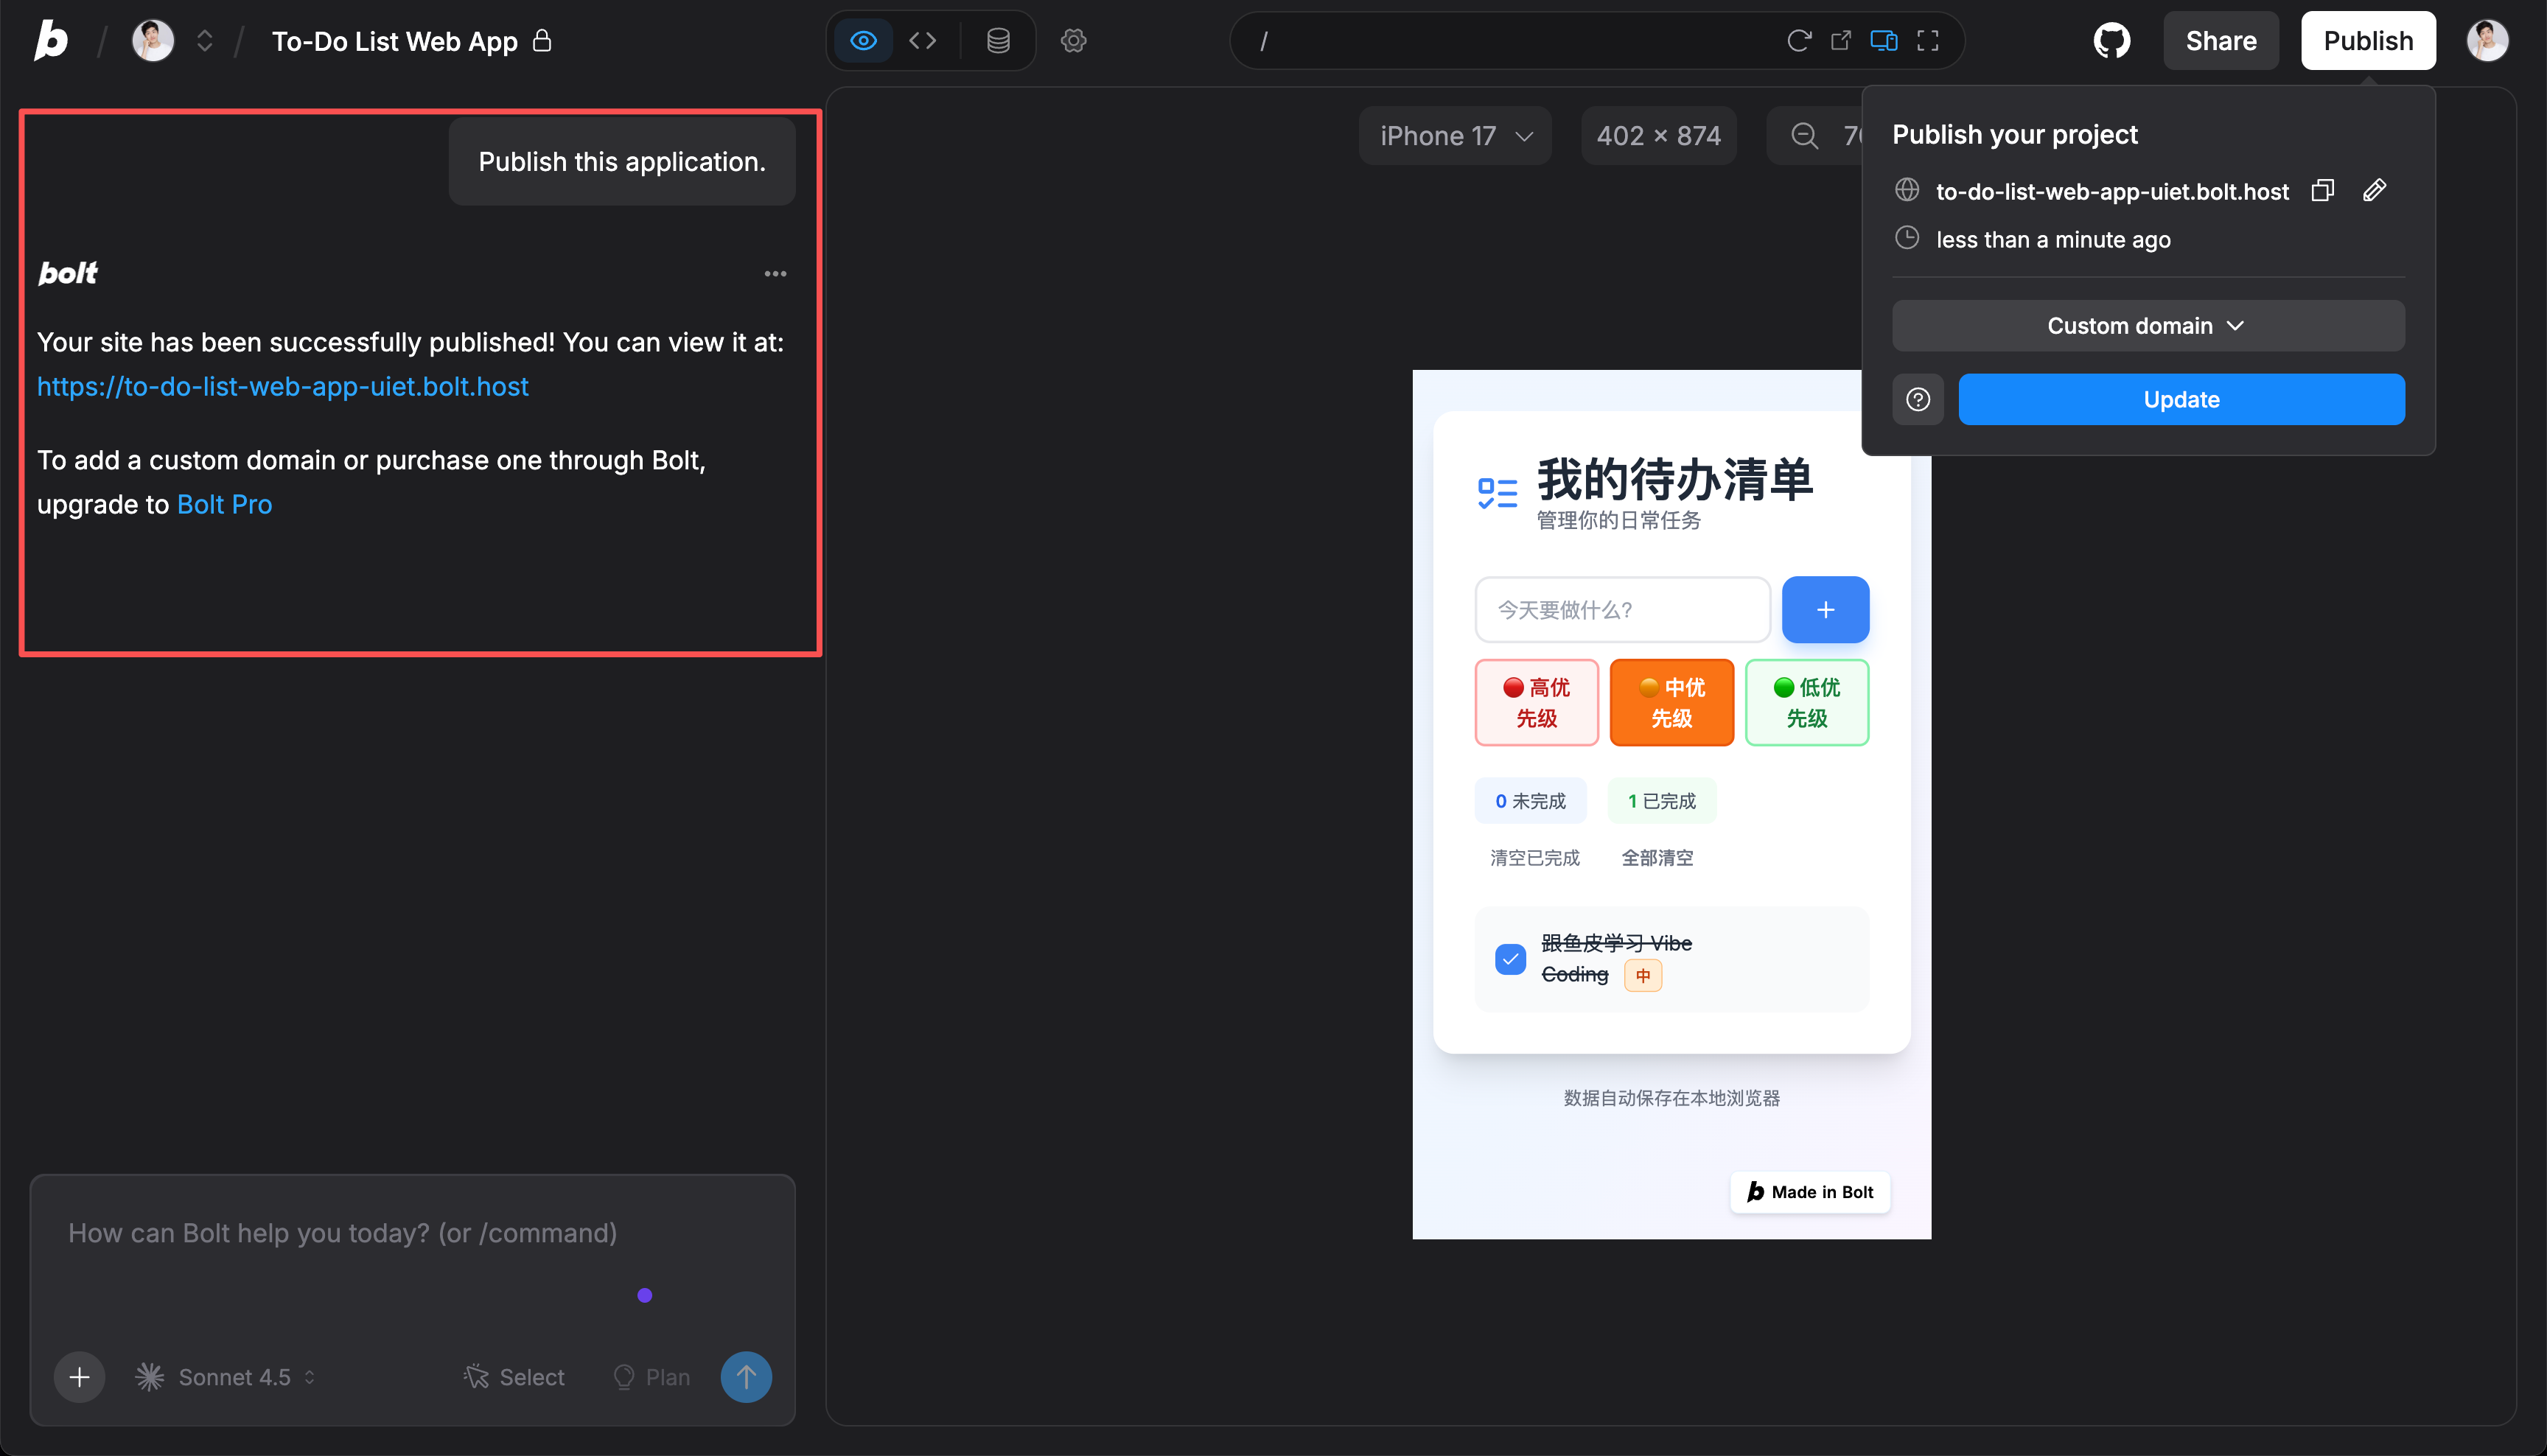
Once deployed, you should be able to access your app from any browser or share the URL with friends.
Congratulations, your first web app is live—it’s that simple! 🎉
💡 If you find the URL unattractive, Bolt.new supports custom domains, but this is only available in the premium version, which I don’t think is necessary.
Extended Knowledge - Manual Deployment
Yupi has shared multiple video tutorials on quickly deploying projects:
- Vercel Project Deployment Tutorial
- Cloud Editor + Vercel + Object Storage + Intranet Penetration: 4 Deployment Methods
- Nginx + Baota: 2 Ways to Deploy a Personal Blog
- WordPress Personal Blog Setup
- 4 Mainstream Frontend/Backend Project Deployments
Additionally, Yupi has guided over 20 projects on Programming Navigation, covering almost every deployment method. If you want to become a professional programmer, I recommend learning these.
- AI No-Code App Generation Platform Project: 1Panel + Nginx Frontend + Java Backend (JAR Package)
- Code Generator Sharing Platform Project: Baota Panel + Nginx Frontend + Java Project Manager (JAR Package) Backend Deployment
- AI Quiz App Platform Project: Vercel Frontend + Docker Backend + Cloud Hosting Serverless Platform Deployment
- AI Super Agent Project: Docker Frontend + Docker Backend + Cloud Hosting Serverless Platform Deployment
- OJ Online Judge Project: Docker Compose Backend Microservice Deployment
Mastering these deployment methods will prepare you for most deployment needs.
6. Understand What You’ve Built
Now that your project is complete, let’s spend a few minutes understanding what you’ve built to help you create better projects in the future.
Project Structure
First, you should know that the foundation of a web app is the "frontend trio":
- HTML (Structure): Defines the elements on the page, such as input fields, buttons, task lists, and statistics.
- CSS (Styling): Defines how the page looks, including colors, fonts, sizes, layout, spacing, and animations.
- JavaScript (Functionality): Defines how the page works, including logic for adding tasks, marking them as completed, deleting tasks, and local storage.
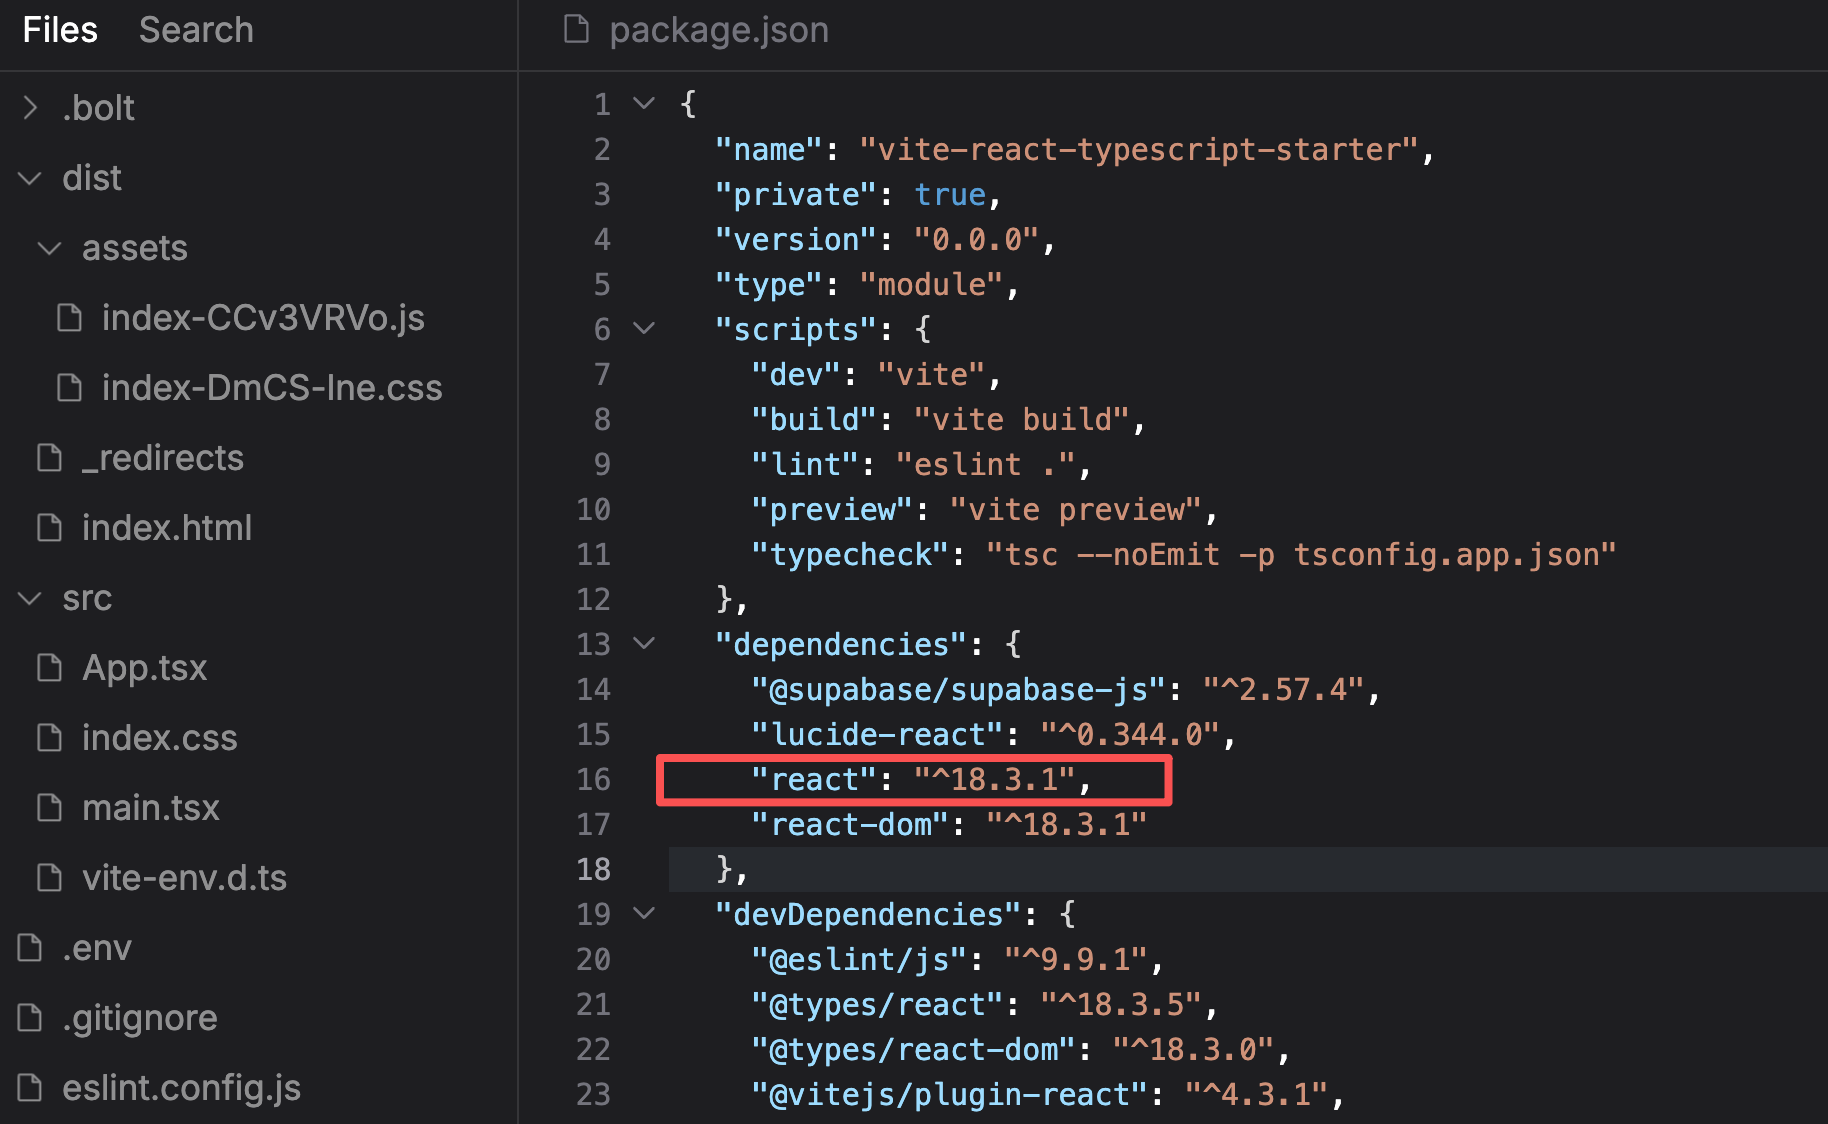
However, in this project, AI chose to use React, a modern frontend development framework, to implement the functionality. React is one of the most popular frontend frameworks, making development more efficient and code easier to maintain.
So, you’ll see .tsx files in the project—these are React component files. Essentially, they are eventually converted into HTML, CSS, and JavaScript that browsers can understand.
Don’t worry if you don’t understand this now. If you’re interested in frontend development, check out Yupi’s Latest Beginner-Friendly Frontend Learning Path for a quick start.
Core Functionality Breakdown (Optional)
Let’s look at how some key features are implemented:
- Adding Tasks: When you click the "Add Task" button, the program first retrieves the text from the input field, creates a new task object, adds the task to the list, saves it to local storage, clears the input field, and refreshes the page display. It’s as natural as writing a to-do item on paper and sticking it on the wall.
- Marking Tasks as Completed: When you click the checkbox, the program finds the corresponding task, updates its completion status, updates local storage, refreshes the page display (adding a strikethrough to the task text), and updates the statistics. It’s like crossing off a task on paper with a pen.
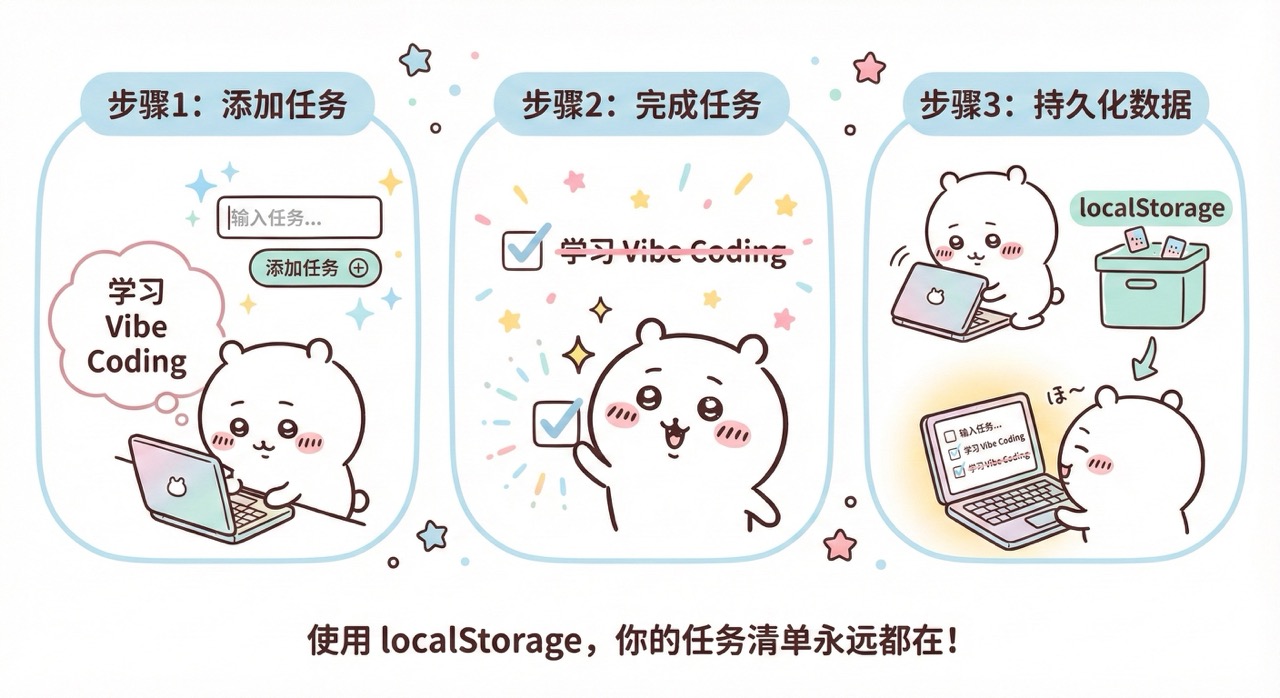
- Local Storage: You might wonder why tasks remain after refreshing the page. This is because the data is saved in the browser’s local storage (
localStorage). Every time you modify a task, the program saves the latest data tolocalStorage. When you reopen the page, the program reads the saved data fromlocalStorage. This ensures data isn’t lost even if you close the browser. It’s like writing your to-do list in a notebook that never gets lost.
Ask AI for Explanations
If you want to dive deeper into a specific part, ask AI directly:
Can you explain how local storage works?
Or:
What does this code do?
[Paste code]
AI will explain it in simple terms.
7. Try Modifying and Optimizing
Now that you have a practical mini-app, let’s try some modifications and optimizations to deepen your understanding.
You can try:
- Changing the color theme ("Change the app to a pink theme for a soft, cute feel")
- Modifying text ("Translate all text into English")
- Adjusting layout ("Move the statistics to the bottom of the page and center-align them")
Or add new features, such as:
- Task search ("Add a search bar to search task content")
- Task categorization ("Add categorization to tag tasks")
- Export functionality ("Add a button to export all tasks as a text file")
You can also enhance the user experience to make the app more user-friendly:
- Add shortcuts ("Press Enter to quickly add a task")
- Add animations ("Add a fade-in animation when adding a task and a slide-out animation when deleting a task")
- Optimize empty states ("When there are no tasks, display a cute illustration and encouraging text")
If you find it too easy, try adding:
- Deadline functionality
- Task reminders
- Drag-and-drop sorting
- Dark mode toggle
- Support for multiple task lists
Whenever you want to add a new feature, tell AI, "I want to add [feature description]. How should I do it?" AI will help you implement it.
Final Words
Congratulations! You’ve completed your first hands-on experience with Vibe Coding.
What you just did would have taken months of learning a few years ago. But today, you did it in just 10 minutes! That’s the power of Vibe Coding.
Through this project, you’ve learned how to clearly describe requirements to AI, optimize projects through multiple rounds of conversation, collaborate with AI to solve problems, and publish projects online. Even though you didn’t write code, you’ve understood the basic structure of web apps, how user interactions are implemented, and the fundamentals of data storage.
More importantly, you’ve developed the Vibe Coding mindset: Focus on "what to do" rather than "how to do it," create first and optimize later, learn by doing projects rather than learning first, and treat AI as a programming partner rather than just a tool.
This is just the beginning. As you work on more projects, you’ll find your ability to express requirements improving, your understanding of technology deepening, the complexity of what you can create increasing, and your creativity truly unleashed.
Remember what I said in the first article: In the AI era, creativity is more important than technical skills, ideas are more important than implementation, and iteration is more important than perfection.
Next Steps
Next, I recommend completing 2~3 more projects of similar difficulty to solidify your skills, such as a personal business card website, a countdown app, a simple calculator, or a weather query tool.
Practice is the best teacher. Only by actually doing will you truly understand the charm of Vibe Coding.
Once you’re comfortable with Bolt.new and simple projects, you can continue with the advanced sections of this tutorial:
- 【Advanced】Programming Tools
- 【Advanced】Project Practice
- 【Advanced】Tips and Tricks
- 【Advanced】Resource Library
You can also explore Cursor (a more professional AI code editor), GitHub (code management and collaboration), and more deployment platforms.
You’ve got this! 💪